Know these must-follow tips to clean makeup brushes, so they last longer, work better, and stay safe for your skin.
Dirty makeup brushes are one of the most common reasons behind breakouts and dull application. Check out these must-follow tips to clean makeup brushes, and keep bacteria away, and help your makeup perform the way it should.
5 Must-Follow Tips to Clean Makeup Brushes
1. Use a Gentle Cleanser

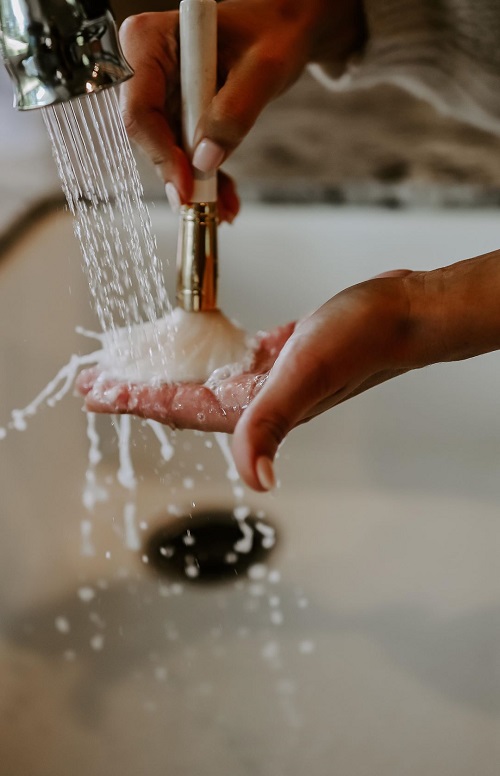
Surprisingly, the safest way to clean makeup brushes is by using a baby shampoo or a gentle face cleanser instead of strong soaps. Harsh detergents strip natural oils from bristles, which makes them brittle and prone to shedding, while gentle cleansers dissolve makeup without damage.
To do this, wet only the bristles with lukewarm water, add a drop of cleanser to your palm or a brush pad, and swirl gently until the residue lifts. You should rinse thoroughly until the water runs clear, making sure no soap is left behind.
Pro Tip: If your brushes feel scratchy after washing, it is a sign that the cleanser is too strong. Switch to a sulfate-free or fragrance-free formula to restore softness.
2. Clean Brushes More Often Than You Think

Many people underestimate how quickly bacteria build up on makeup brushes, especially those used for liquid foundation or concealer. When you go for regular cleaning, it will prevent clogged pores, acne flare-ups, and uneven makeup application.
Foundation and concealer brushes should be cleaned once a week, while eye brushes can be washed every 7 to 10 days, depending on usage. Lip brushes need frequent cleaning because bacteria grow faster in creamy products.
3. Wash With the Bristles Facing Down
One small mistake can ruin even expensive makeup brushes, and that mistake is letting water seep into the ferrule where the bristles are glued. Water trapped there will loosen the adhesive, and it will lead to shedding and bad odors.
While washing, you should angle the brush downward and avoid soaking the handle. Rinse carefully so water flows away from the base, not into it.
Pro Tip: If a brush already smells musty, moisture may be trapped inside. Let it dry longer in a well-ventilated area before using it again.
4. Reshape Bristles Before Drying
After washing, brushes lose their original shape if left unattended, which affects makeup precision over time. You should reshape the brush to help it maintain performance and extend the life of the brush.
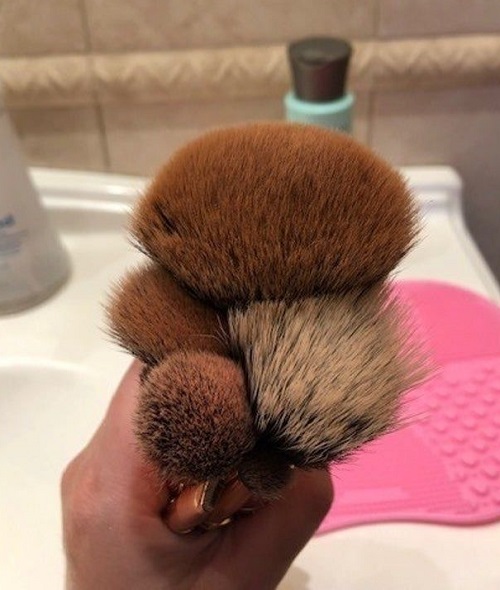
All you need to do is gently squeeze out excess water using a clean towel, then use your fingers to mold the bristles back into their original form. Lay brushes flat on a towel with the bristles slightly hanging off the edge.
Caution: Never dry brushes standing upright when wet. Gravity pulls water into the base and weakens the glue.
5. Disinfect Occasionally for Extra Hygiene
Even with regular washing, your brushes that touch acne-prone skin or cream products benefit from occasional disinfection. This will reduce bacteria that normal soap may not fully eliminate.
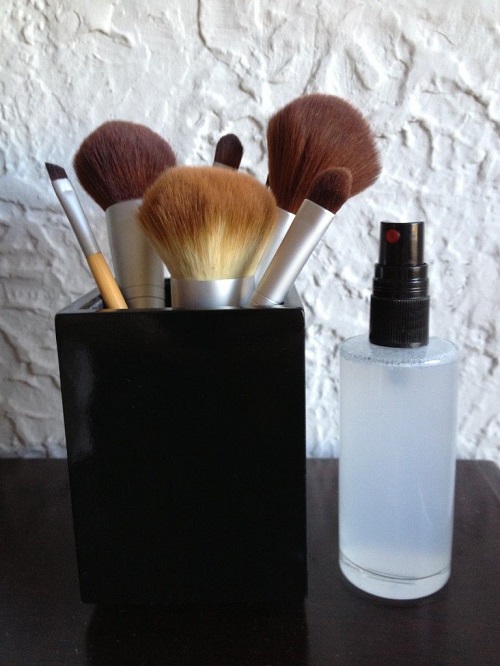
Once a month, you should lightly mist clean and dry brushes with a brush disinfectant spray or a diluted alcohol solution. Let them air dry completely before storing or using. Do not soak brushes in alcohol, as a light spray is enough to sanitize without drying out the bristles.
Follow these simple, practical tips consistently, and your brushes will stay soft, effective, and skin-friendly for years to come.