Do you want a natural tint on your lips? Here’s your catch, Learn how to make natural lip balms at home to keep your pout perfectly pampered all year.
Did you know that commercially available lip balms can sometimes contain harsh chemicals that may cause long-term lip damage? If you didn’t, it’s time to switch your ways. This DIY guide helps you create natural lip balms with nourishing ingredients for long-lasting hydration and a healthy pout.
Components Of An Ideal Lip Balm
1. Glycerin and hyaluronic acid
Gycerin and hyaluronic acid are humectants and act as hydration providers. They draw moisture to the lips, and some emollients like shea butter and jojoba oil provide a silky texture and lock it in. These ingredients work together to prevent dryness and flakiness.
2. Occlusive Components
Beeswax and candelilla wax are ideal occlusives that tend to form a physical barrier on the lips. This barrier shields them from environmental irritants like wind, cold, and even sun damage.
3. Anti-inflammatory Properties
Aloe vera and calendula-like ingredients soothe already chapped or irritated lips. The anti-inflammatory properties help accelerate healing and reduce discomfort.
4. Vitamin E
Vitamin E is a natural antioxidant that protects lips from free radical damage. Some lip balms even contain efficient natural flavors or essential oils to give them a pleasant taste and aroma.
How To Make Natural Lip Balms?
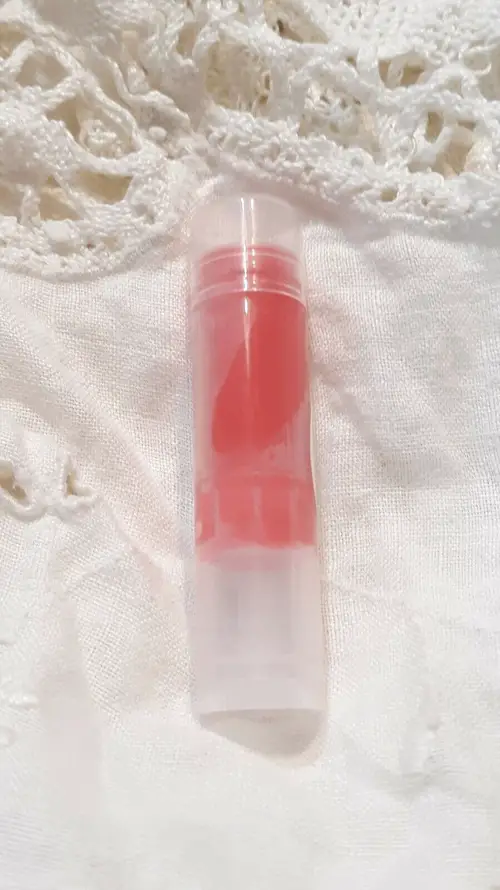
1. Strawberry Lip Balm
Benefits
This fruity balm contains antioxidants and vitamin C from fresh strawberries. It helps keep lips hydrated and protected and also provides a natural lip colour.
DIY Method:
- Mash half a ripe strawberry into a smooth paste.
- In a heat-resistant bowl, combine 1 tablespoon of beeswax pellets or grated beeswax with 1 tablespoon of coconut oil.
- Gently melt the mixture over a double boiler in a bowl placed over simmering water.
- Once melted, remove from heat and stir in the mashed strawberry.
- Let the mixture cool slightly.
- Pour into a small lip balm container and refrigerate until solid.
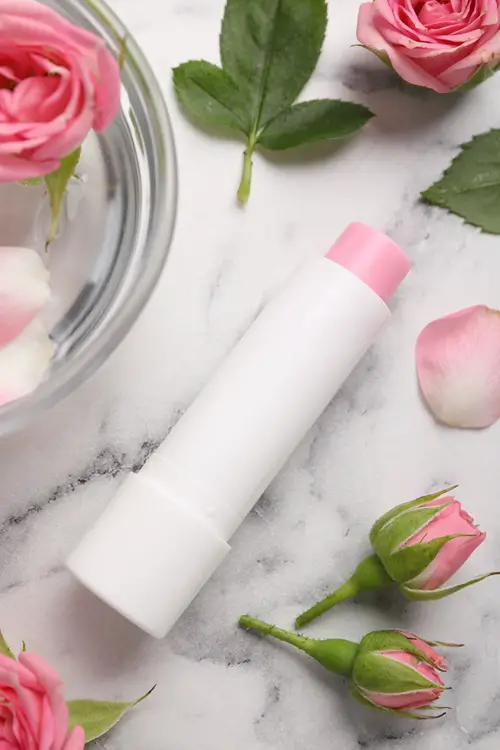
2. Rose Lip Balm
Benefits
Luxurious and soothing, rose lip balm is perfect for dry, irritated lips. Rose petals have natural anti-inflammatory properties that can help calm redness and discomfort.
DIY Method:
- Dry a handful of rose petals by placing them on a paper towel in a cool, dark place for a few days.
- Grind the dried rose petals into a fine powder using a mortar and pestle or a spice grinder.
- Follow steps 2-5 from the strawberry lip balm recipe, substituting 1 teaspoon of the rose petal powder for the mashed strawberry.
Note: Conduct a patch test on your inner forearm before applying any lip balm to your lips. Apply a small amount and wait 24 hours to check for any irritation.
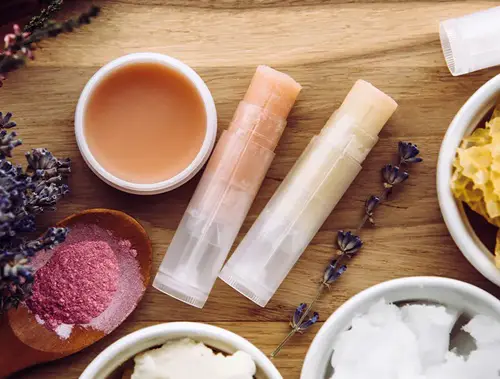
3. Coconut & Beeswax Lip Balm
Benefits
Coconut oil is a natural moisturizer that deeply hydrates and softens lips. Beeswax locks in moisture and creates a protective barrier against dryness and irritation.
DIY Method:
- In a double boiler or in a heat-resistant bowl set over simmering water, melt 1 tablespoon of beeswax pellets and 2 tablespoons of virgin coconut oil.
- Once melted and smooth, remove from heat and stir in 1 teaspoon of sweet almond oil for extra moisture and a vitamin E capsule. Puncture it and squeeze out the oil.
- Optionally, you can also add a drop of your favorite lip-safe essential oil, like peppermint or vanilla, for a pleasant scent.
- Pour the mixture into a clean lip balm container or small tin and let it cool completely before using.
4. Chocolate Lip Balm
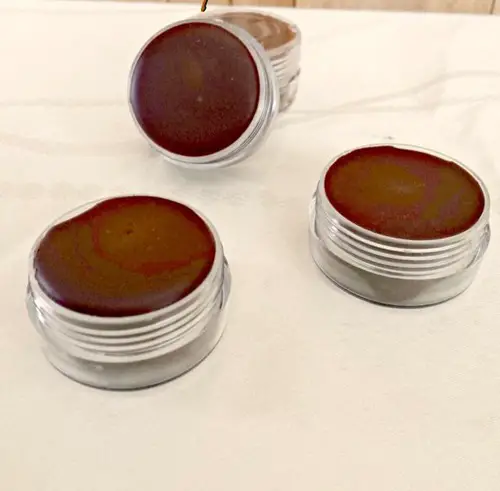
Benefits
Cocoa butter is a rich source of natural fats that soothe and nourish dry lips. On the other hand, dark chocolate contains antioxidants that protect the lips from damage.
DIY Method:
- In a double boiler, melt 1 tablespoon of raw cocoa butter and 1 tablespoon of beeswax pellets.
- Remove from heat and stir in 1 tablespoon of sweet almond oil.
- For a touch of sweetness and extra hydration, add half a teaspoon of honey.
- Pour the mixture into a lip balm container and let it cool completely.
Tip: Use dark chocolate that’s at least 70% cacao for the most antioxidant benefits.
5. Fresh Sugar Lip Balm

Benefits
Brown sugar gently exfoliates dry, flaky skin, leaving lips smooth and soft. Shea butter holds the moisture in the lips for a long time.
DIY Method:
- In a small bowl, combine 2 tablespoons of brown sugar with 1 tablespoon of melted shea butter.
- Using a fork, mash the mixture together until it forms a smooth paste.
- Add 1 tablespoon of coconut oil and mix well.
- Because this balm contains sugar, it’s best for occasional use as a lip scrub rather than a daily lip balm.
6. Grapefruit Lip Balm
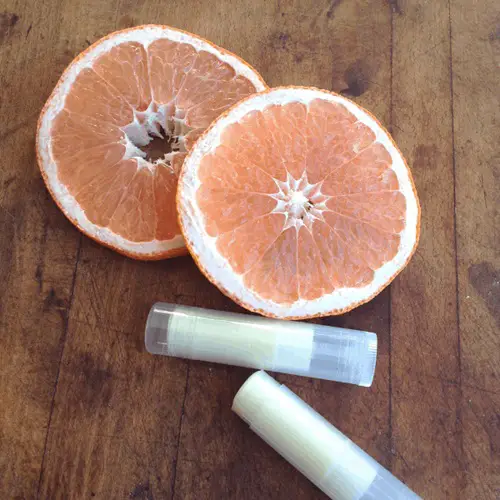
Benefits
Grapefruit seed oil is a lightweight moisturizer that absorbs quickly and keeps the lips soft, supple, and juicy.
DIY Method:
- Melt 1 tablespoon of beeswax pellets and 1 tablespoon of grapeseed oil.
- Remove from heat and stir in 1 teaspoon of melted shea butter.
- Add 1-2 drops of grapefruit essential oil, but be very careful, as a little goes a long way.
- Pour the mixture into a lip balm container and let it cool completely.
The Right Way to Use Lip Balm
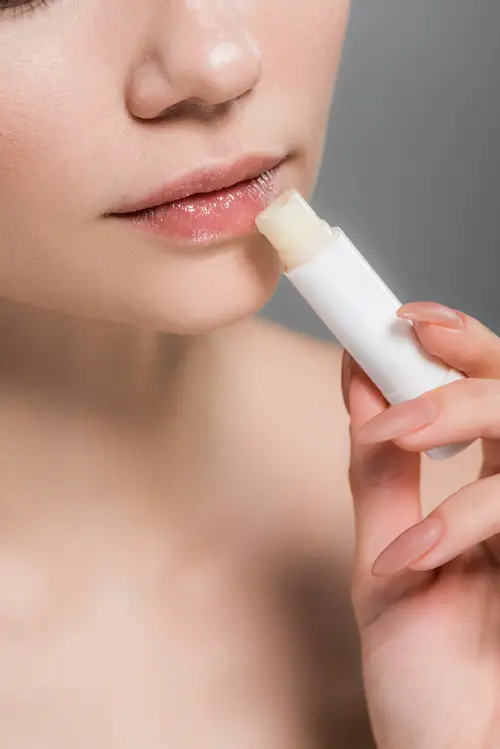
People often wonder what the catch is in using a lip balm. But there are many. Here, we have provided you with an effective way to use lip balm:
- The store-bought balms might contain fillers, but homemade versions do not. They often lack preservatives. Be generous when swiping it on your lips, especially before bed or when venturing outdoors in harsh weather.
- Focus on applying balm directly to those dry or chapped spots throughout the day.
- If you’ve included essential oils for a delightful scent, A single drop per batch is plenty to add a pleasant aroma without overwhelming your senses.
- Use a clean finger, cotton swab, or lip brush for application, especially if you’re sharing your creation with others.
How Do You Store Lip Balm?
Follow the given instructions to get the most out of your creation with some savvy storage tips:
- Whenever you’re traveling, always pack your lip balm in a small container or tin for on-the-go touch-ups. Go for a metal or glass container for a more eco-friendly approach.
- Heat is the enemy of homemade lip balm. Store your product in a cool, dry place, like a drawer or cabinet. Avoid bathrooms with steamy showers that can melt your balm.
- During the extremely hot days of the summer months, consider keeping your lip balm in the refrigerator for an extra-refreshing application.
- Homemade lip balms typically have a shorter shelf life than commercial products due to the lack of preservatives. Plan to use your balm within a few months for optimal freshness and effectiveness.
Signs Of An Expired Lip Balm
Homemade lip balms usually won’t have an expiration date, so it’s wise to err on the side of caution. Generally, a batch should last around 6 months if stored properly in a cool, dry place. Label your creations with the date you made them for easy reference. Following are some standards that can help you recognise if your lip balm has gone bad:
- Give your lip balm the sniff test. A pleasant, familiar scent is a good sign. However, if it has developed a funky, rancid odour, it’s time to say goodbye.
- The texture of your lip balm should be smooth and glide effortlessly. If it’s become unusually hard, crumbly, or gritty, it’s a sign the ingredients have broken down.
- Fresh lip balm has a vibrant or neutral colour, depending on the ingredients. Discoloration, especially towards yellow or brown, suggests the balm is past its prime.
- Sometimes, an expired lip balm might not have any obvious signs. But if you experience any irritation, redness, or a stinging sensation after application, discontinue use immediately. Your lips are delicate, and a bad balm can cause more harm than good.