Here is the best beginner-friendly and step-by-step makeup tutorial to apply makeup easily and in the correct sequence.

Starting makeup can feel overwhelming, but following a simple step-by-step order makes the whole process easy and stress-free. With the proper sequence mentioned below, you can create a look that lasts longer and looks more natural.
Beginner-Friendly Makeup Order Step by Step
1. Start With Clean Skin
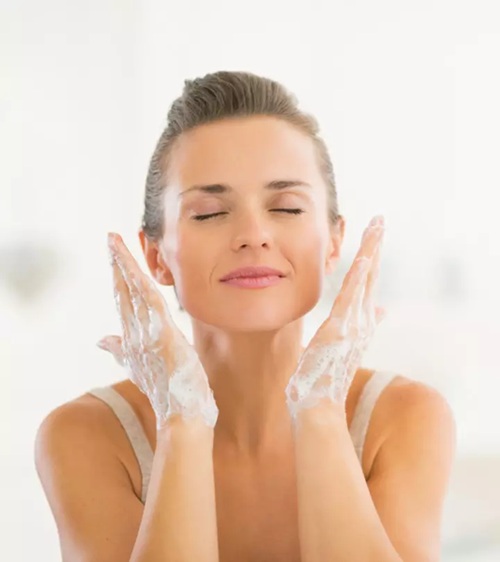
When your skin is moisturized, makeup sits better and lasts longer throughout the day. Skipping moisturizer will lead to patchiness, dryness, and uneven makeup texture.
To do this step right, wash your face with a gentle cleanser and apply a lightweight moisturizer suited for your skin type. Give it a minute to absorb so your base doesn’t slip.
Pro Tip: If your skin feels tight after moisturizing, apply a second light layer, as hydrated skin makes even cheap makeup look expensive.
2. Apply Primers to Smooth Out Everything

A primer is like a tiny magic trick that helps your makeup grip better and look smoother. It will fill in little uneven spots and keep your makeup from melting away. Beginners often skip this, but it’s one of those small steps that make a big difference.
You need to apply a pea-sized amount and focus on areas where makeup fades first, like your nose or cheeks. Let it sit for 20–30 seconds before applying anything else.
3. Apply A Light Base
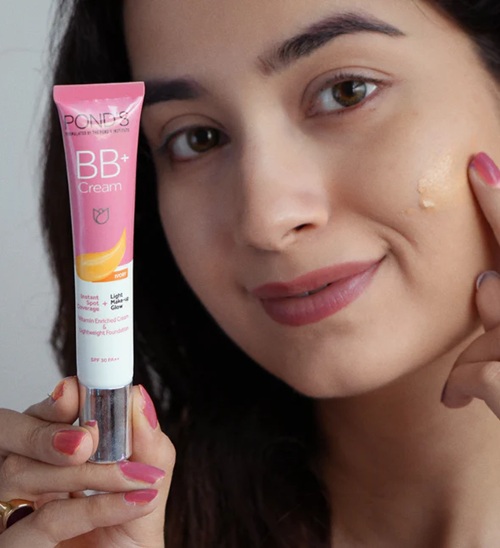
A soft layer of BB cream or a sheer foundation will give your skin an even and fresh look without looking heavy. This step will help blur redness and pigmentation, making everything look more polished.
As a beginner, you don’t need full-coverage formulas, so lightweight options are easier to blend and look more natural. Use your fingers or a brush and apply thinly, starting from the center of your face outward. Blend until it looks like your skin, but better.
4. Add The Concealer 
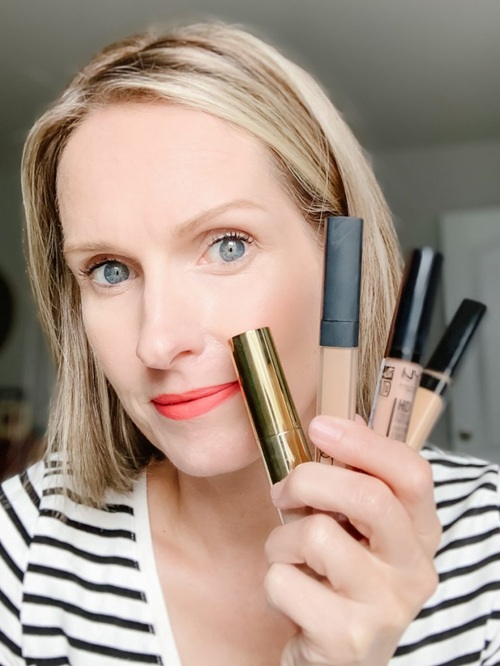
Concealer is your best friend when used correctly, and your worst enemy when overdone. It will brighten the under-eyes, hide blemishes, and add a natural lift to the face. Using it only where necessary keeps your makeup light and fresh, perfect for beginners.
Dab a small amount under the eyes, around the nose, or on any pimple you want to camouflage. Blend with your finger for a soft, skin-like finish.
Pro Tip: You can use a concealer one shade lighter under your eyes and one that matches your skin tone on blemishes.
5. Lock With Setting Powder
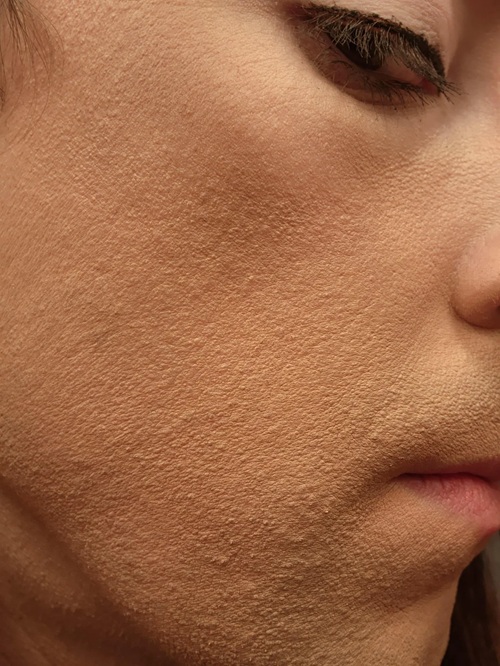
A little powder will remove shine and keep your makeup from moving. It is useful if your skin gets oily or your concealer tends to crease. Don’t skip this step, as it will help your makeup stay clean and crisp for hours.
You can use a fluffy brush and dab powder lightly in areas where makeup creases under the eyes, around the mouth, and on the forehead. Avoid piling too much product; thin layers work best.
6. Add The Blush
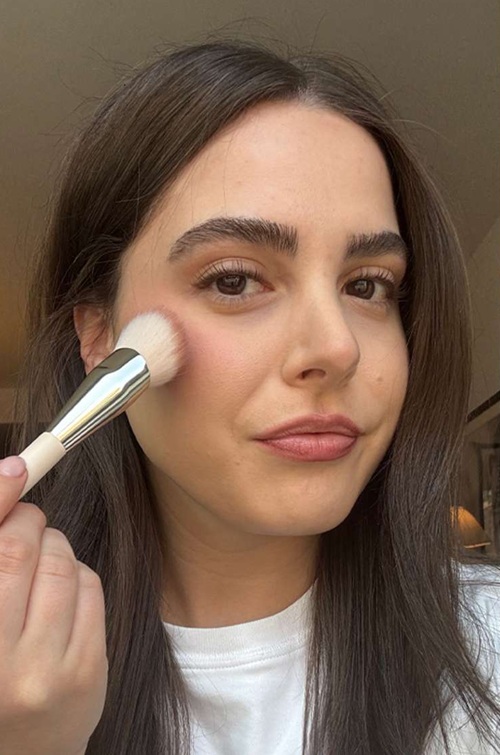
Blush is the secret to not looking “flat” after evening out your skin tone. A little color on the cheeks will make you look awake and confident. As a beginner, cream blush is perfect for you as it is easier to blend and more forgiving.
Apply a small dab to the apples of your cheeks and blend upward toward the temples. You should choose soft shades like peach or pink for a natural and fresh finish.
Pro Tip: Smile, the highest points of your cheeks slightly are the perfect placement for beginners.
7. Define Brows 
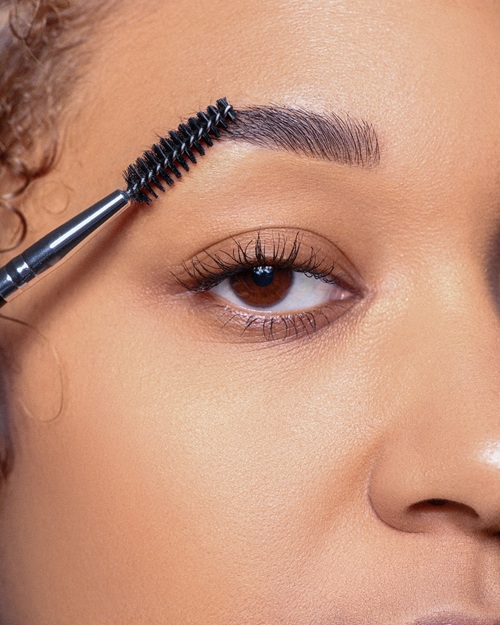
You don’t need sharp Instagram brows; a simple definition is enough. Lightly filled brows make the whole makeup look intentional and neat. You can use a brow pencil or brow gel and follow your natural shape.
Remember to fill sparse areas lightly and brush everything through for a soft blend. If you are scared of overdoing it, choose a brow gel first because it is beginner-friendly and foolproof.
8. Add Simple Eyeshadow
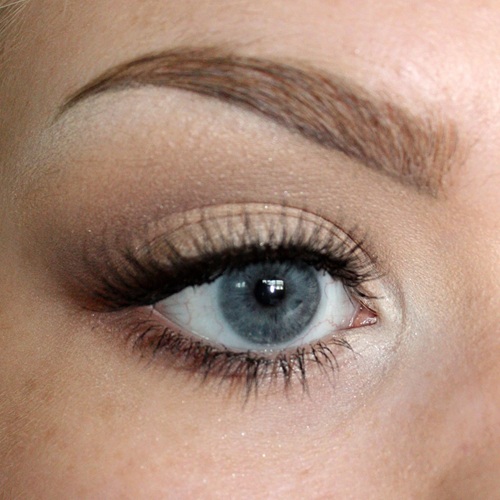
A single eyeshadow shade can make your eyes look brighter without feeling overwhelming. Neutrals like brown, soft peach, or champagne will work beautifully for you as a beginner.
Swipe one shade across your eyelids using a fluffy brush or your finger and blend until there are no harsh lines.
Pro Tip: Shimmer on the eyelids and matte in the crease is the easiest beginner combo ever.
9. Lift Your Eyes With Mascara
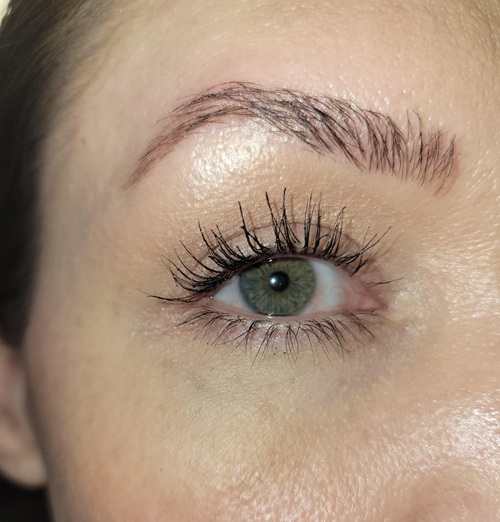
Mascara will instantly open your eyes and add definition without needing complicated liners or fancy techniques. It will give your lashes length and a lifted effect. Also, beginners love this step because it delivers maximum impact with minimum effort.
You should start at the base of your lashes and wiggle the wand upward. A single coat is enough for a natural look.
10. Finish With a Lip Color

A soft lip tint, or nude lipstick, will give your entire look a polished finish. It ties everything together and ensures your makeup doesn’t feel incomplete. When you are a beginner, you should stick to hydrating formulas because they are easy to apply and don’t smear easily.
Swipe on the color of your choice and press your lips together to distribute it evenly. Remember to keep it simple and natural.
Pro Tip: Use a tinted lip balm on rushed days as it hydrates and adds color in one step.