If you want to make your eyes pop, don’t skip! Here are some easy eyeshadow tips for beginners to make the most of it!
This guide will help you find which brushes you’ll need, how to blend your tones seamlessly, and more. You’ll be more than surprised to see that it’s actually easier to apply with these beginner-friendly eyeshadow tips!
Eyeshadow Tips for Beginners
1. Prep Your Eye Lids First
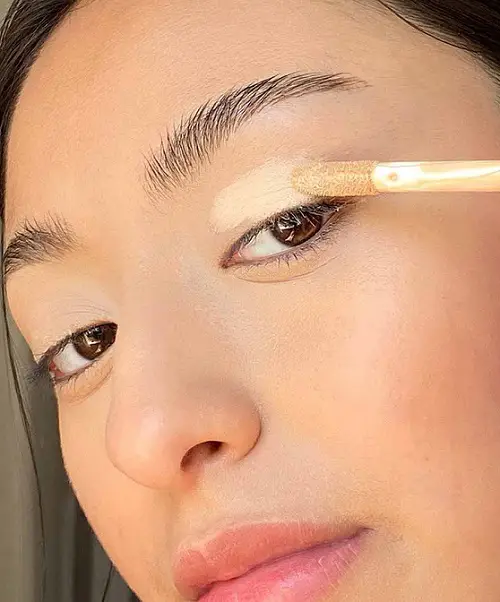
This is the very first thing you want to do! Prepping your lids with a good concealer will not only even out the skin texture but also keep the natural oils intact, making it flawless throughout the day.
This step is often overlooked but is incredibly important in achieving a smooth eye look.
So, how do you do this? There are many ways, but the really easy one is to use your regular old concealer. You can either use a brush to blend it out or, of course, make your fingers do the magic. Take a translucent powder on a puff and set the concealer by pressing down on it.
2. Find a Transition Shade on the Eyeshadow Palette
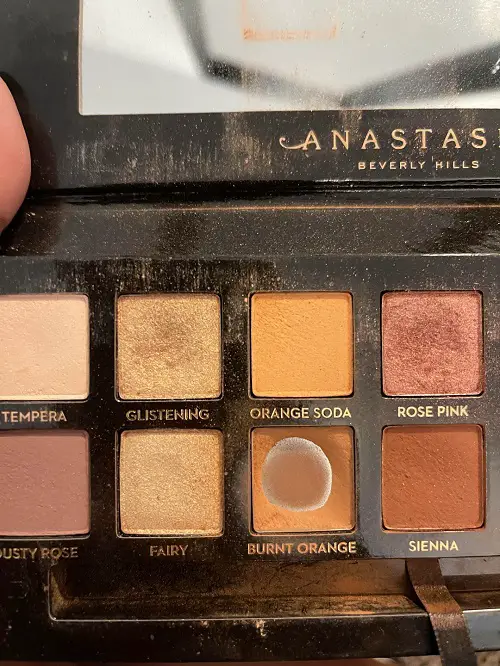
Do consider your natural eye color and shape whenever you look for an eye shadow palette. Then, you just need to think about the tones you’re using and the specific areas of the eyes.
The first step is to find a transition shade. This is the color on your eye shadow palette that matches your skin tone, a mid-tone color in the specific palette. It helps to merge colors and gives some depth to your eyeshadows.
3. The Perfect Eyeshadow Brushes
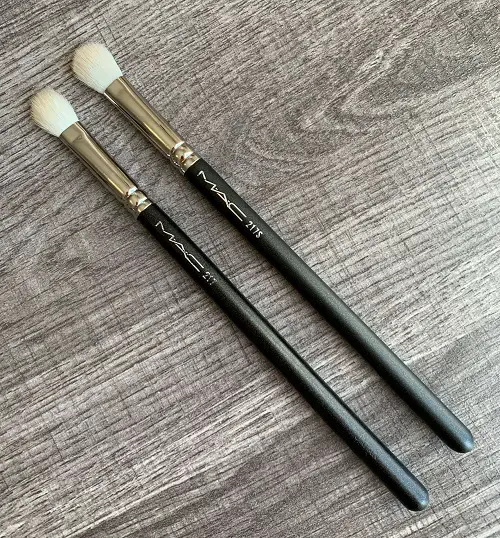
You need to explore some brushes that are absolutely necessary for putting up a nice eye makeup. Look for a bigger crease brush that diffuses pigment softly, probably a number 26, and then a smaller one that deposits more pigment, go for number 24.
Remember the golden rule: The smaller the brush, the more concentrated the pigment; the larger the brush, the more diffused the pigment.
You’ll use these different brushes in different places for different reasons. The bigger crease brush is for the transition shade, and you’ll use windshield wiper motions on the crease to create a little bit of depth there.
You can use the smaller ones to create a highlight on your lids. Let’s discuss this in the next tip!
4. Highlight Your Lids
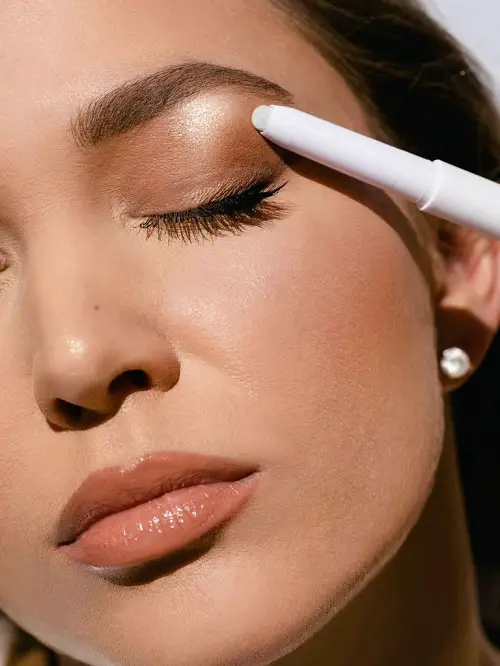
You have set a nice base, created a little depth in the crease, and now you have to bring your lid forward. Choose a highlight shade of any light color, whatever you like, whether it has a sheen or matte effect.
Use the smaller brush to blend the color with the transition to tone up together.
5. Don’t Ignore The Lower Lash Line
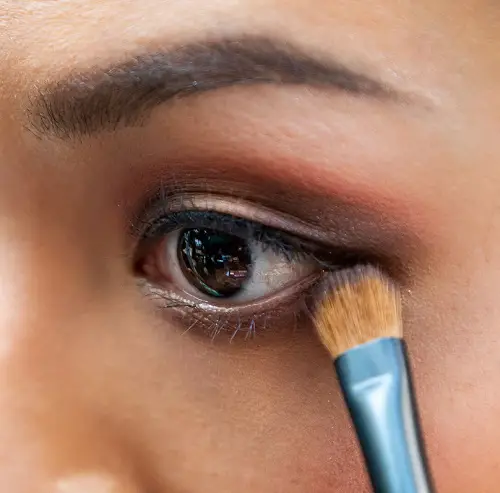
This is a small step that makes a big difference! Use softer colors like taupe or brown on the lower lash line to balance out the look. This step gives the eye makeup a great deal of definition.
You can also use a liner that is one shade lighter than the one on your top lid. Make sure it isn’t too much or it will give a heavy or tired look, so just the minimum amount.
6. Top Up with a Coat of Mascara
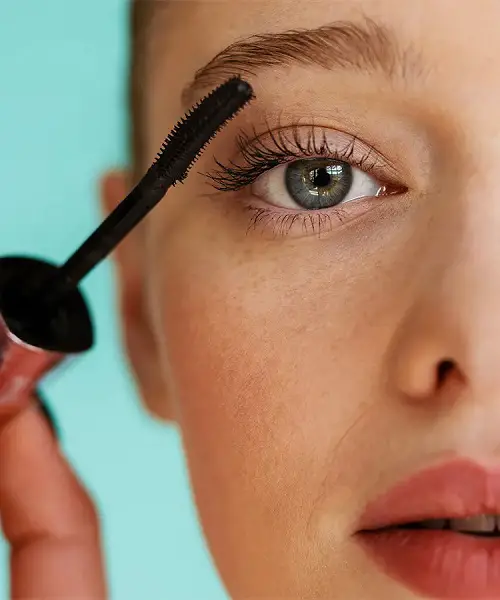
When you blend all those eye shadows, the powder clings to the lashes, eventually making them look lighter than normal. So, as you brush a coat of mascara, the lashes brighten up, creating that dark finishing outline.
Pro Tip: If you have lighter-color lashes, a brown mascara will look natural, and similarly, opt for a black one if you have darker lashes. You can also try using a clear mascara for an even more natural look!
7. Use a Natural Makeup Remover for Your Eyes!
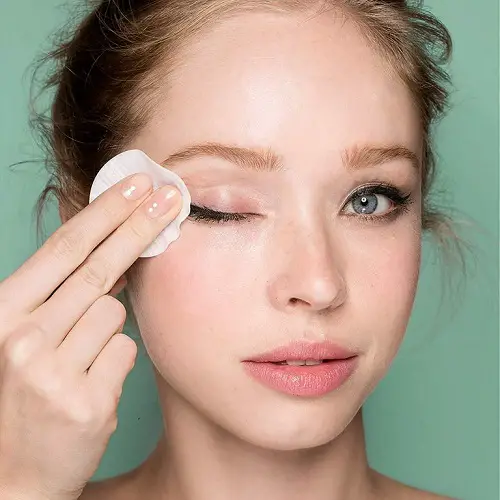
Removing it daily is one of the most important parts of your makeup regime! Likewise, remove your eye makeup before bed each day to keep the skin healthy and avoid clogged pores.
Not removing your makeup, which is made up of numerous chemicals, will gradually lead to certain skin concerns, such as acne breakouts, dullness, and so on.
Let’s tell you a secret to natural makeup removal tricks that have many skin benefits: use castor or almond oil. Why? These natural oils do a lot more than just removing makeup, starting from preventing skin issues to deep moisturization.
Here is a DIY eye makeup remover recipe made out of love and nourishment. Check it out asap!
There you go, dear beginner, hoping that these tips will help you out when you start. Share your experience with us, too!