Do you want to try your hand at the most trendy reverse cat eye makeup? Here’s how to do it right with some pro tips at the end!
Imagine the classic cat eye makeup look but flipped upside down! That’s the reverse cat eye makeup look, and here you will learn everything about doing it the right way with all the dos and don’ts. So let’s level up the eyeliner game.
How Does the Reverse Cat Eye Makeup Look?
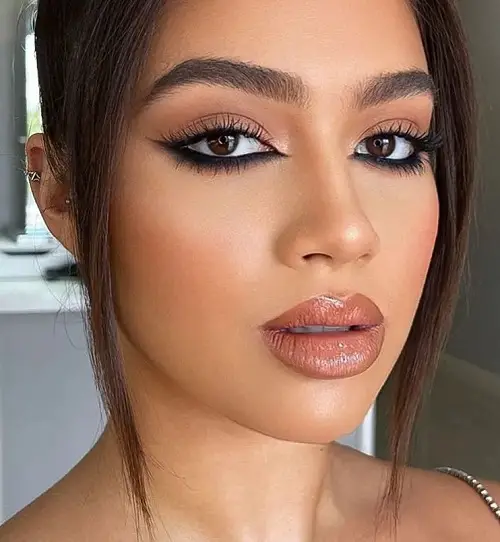
Instead of focusing on the upper lid like a traditional cat eye, the reverse cat eye shifts all the drama to the lower lash line! That’s that, and the result is a sultry, lifted gaze with a little grunge, glam, and 100% on-trend.
There are different ways to apply this technique depending on the structure and shape of your eye. If you have hooded eyes, keep the wing slightly thinner and more elongated. Those with almond eyes can go bold!
How to Do Reverse Cat Eye Makeup— All The Right Ways
1. Start with a Clean, Well-Prepped Base
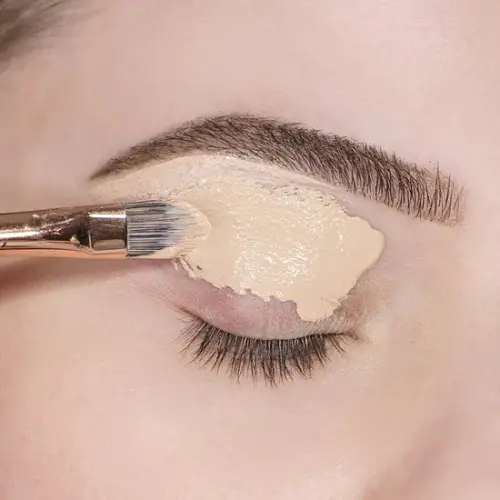
Before starting with anything, cleanse your face with a light cleanser, pat it dry, and apply a moisturizer that suits your skin. This is the first step of your routine for every makeup beginning!
Then you need to prep your eyelids with a matte eyeshadow base or concealer to prevent smudging. Lastly, set this base with a translucent powder.
2. Smoke Out the Lower Lash Line
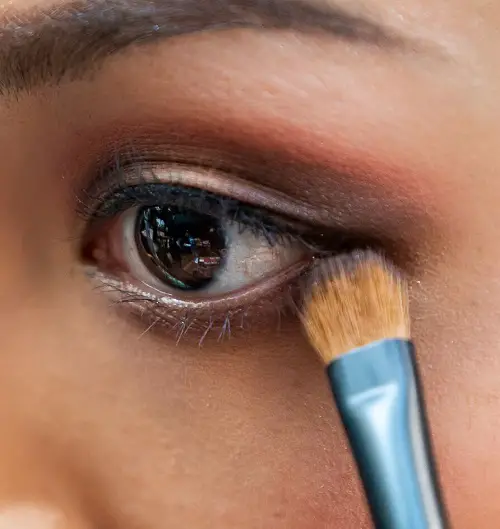
Use a soft pencil eyeliner (preferably black or dark brown) and trace around the lower waterline extending up slightly outwards. Try taking it past the outer corner of your eye for a wide eye look.
Then, use a small smudger brush or Q-tip to soften the line for that smoky finish.
Pro Tip: For a softer look, blend a neutral eyeshadow along the lower lash line first.
3. Wing It Out But In Reverse
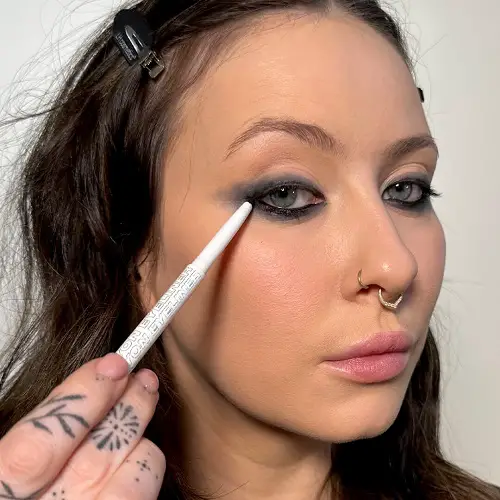
Create a sharp upward wing using the same pencil or a gel liner. This wing should start from the lower lash line and flick out and slightly upward, mirroring a cat eye from below.
For some extra drama, thicken the wing slightly and extend it to meet the upper lash line’s corner. However, don’t connect it all the way unless you’re going for a more graphic look!
4. Define the Upper Lid

Here is an optional step if you want more structure. Just lightly line your upper lash line or tightly line it with a pencil or a liquid eyeliner. But remember, the main focus stays on the lower lash only.
For those who have small hooded eyes, this step is going to do good for your overall makeup look!
5. Blend It Out
Use a fine-tipped brush with a bit of dark eyeshadow to blend out any harsh edges. Keep a makeup wipe handy to clean up the wing and sharpen its edges.
You might also need to do this during the hot summer days quite frequently. But don’t worry, this is just going to take you a few minutes.
6. Finish The Look With Lashes & Mascara
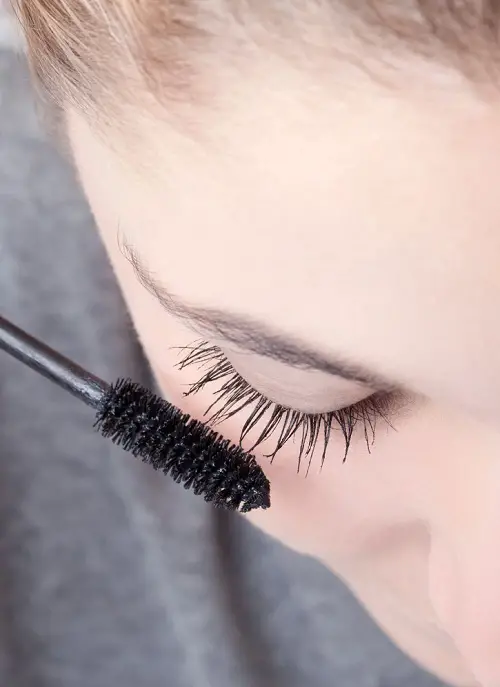
Finish with a volumizing mascara on both upper and lower lashes for the complete finish. This step will give you that bold eye look for sure!
Additionally, you can also try using false lashes. Even though this is optional, they give a nice lift to this bold look.
Pro Tips to Make It Last Long
Use a waterproof liner if you have watery eyes and set the liner with a matching eyeshadow to prevent smudging. You can also try a nude liner on the waterline to make the look more wearable during the day, and that’s it! BTW, we got you covered with some more tips in this beginner-friendly eye makeup guide.
This reverse eye makeup look is perfect for a night out. With a little practice (and the right tools), this edgy trend can become your go-to eye look. So, are you ready to flip the script on your eyeliner routine?