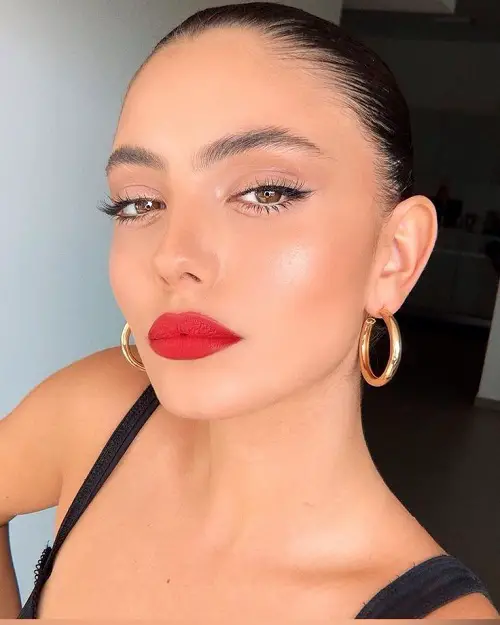
Do you want to apply lipstick perfectly without cracks or smudges and get that flawless look? Here’s a step-by-step guide!
Let’s be honest, the perfect lipstick isn’t just about staying within the lines. It’s about hydration, prep, color payoff, and staying flawless. If your lipstick fades, feathers, or looks patchy, chances are you’re skipping a few essential steps. Here’s a foolproof guide on how to apply lipstick perfectly!
How To Apply Lipstick Perfectly
1. Start with a Lip Detox
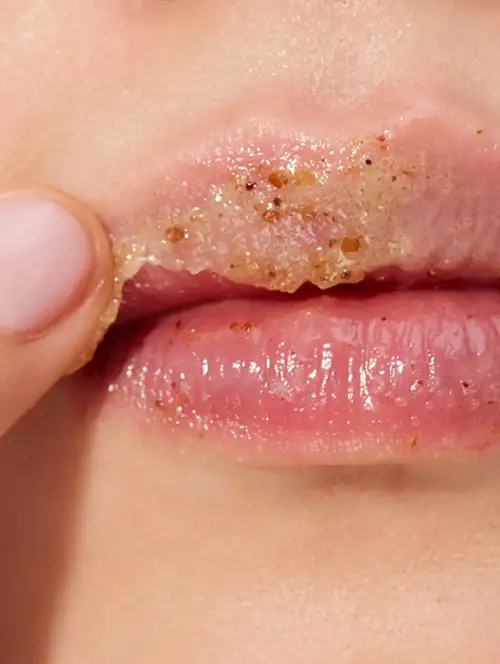
Before you apply anything to your lips, you need a clean, smooth canvas for everything to blend in properly without any creases, without any breaks and bumps! So, prep your lips before you start.
Here is what to do: Use a gentle scrub made with brown sugar and a few drops of castor oil. Massage in circles for 30–60 seconds. Gently rinse and pat dry.
Why castor oil? It not only lifts away dead skin but also penetrates deeply to nourish, unlike synthetic balms that just sit on top.
2. Hydrate Like You Mean It!
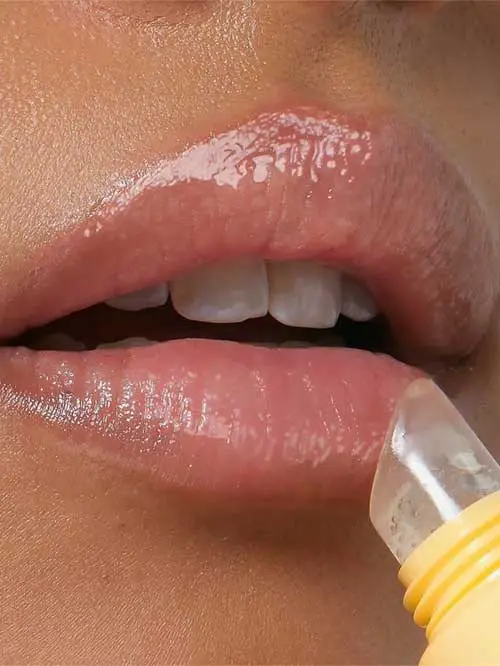
This is where many people go wrong! Remember, dry lips mean uneven color and flaky skin above. So, when you apply makeup on such skin texture, don’t expect good results. The lipstick won’t give a flawless look, and on top of it, the skin damage will worsen.
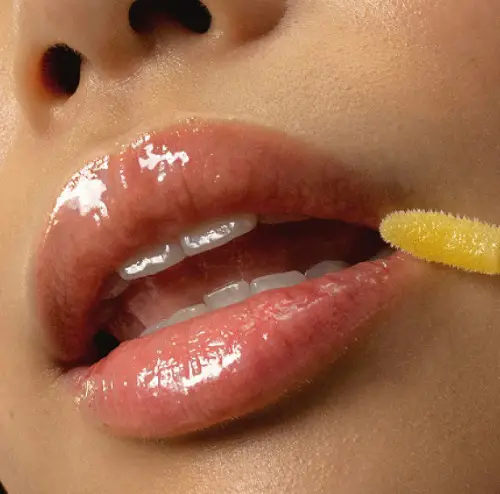
Always apply a layer of lip balm to nourish your lips. It will also improve the skin and smooth out the uneven spots. You can go natural by using a single drop of jojoba oil and letting it absorb for 10 minutes. It works great!
Pro Tip: If you’re applying matte or long-wear lipstick, blot off excess oil before moving to the next step. You want hydrated lips, not slippery ones.
3. Prime Your Lips – Naturally
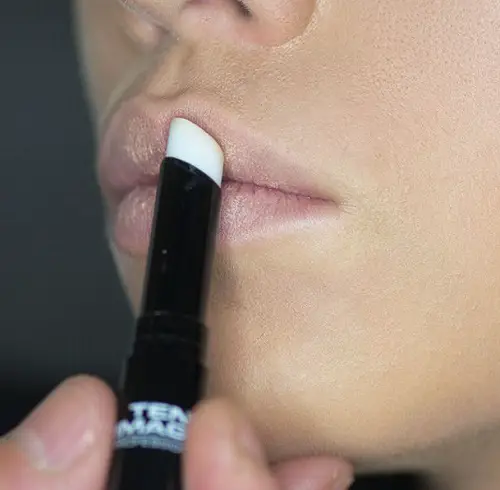
If you’re wondering why, this step will help improve lip shade and texture. You can also pat some of your regular foundation on this, and then start the next step.
Just skip the synthetic primers and opt for a better way! Dab a bit of aloe vera gel mixed with a drop of castor oil. Let it sit for a minute and go to the next process. This preps your lips and fills in fine lines for a smooth surface.
4. Line Smartly (Even If You’re Not a Liner Person)
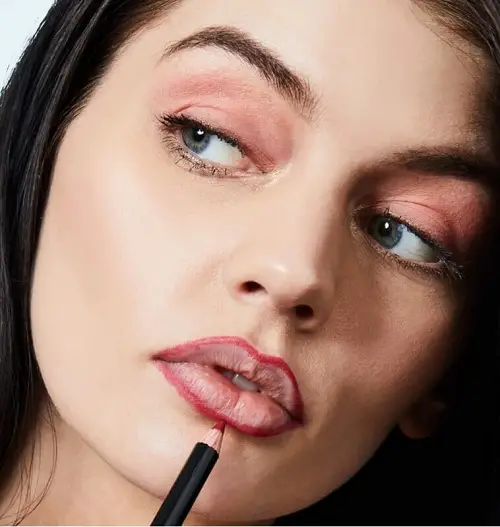
Let’s tell you all the benefits of using a lip liner: it prevents bleeding out of the borders, defines shape, and lasts for a very long time. Pick a shade close to your natural lip color or your lipstick.
If you want your lips to look more plump, try this trick. Slightly overline only the center of your upper and lower lips for a plump illusion and skip the corners to keep it natural.
5. Finally, Apply The Lipstick
The process is the same whether it’s directly from the bullet, with a brush, or a liquid formulation. First, start applying it within the border around the pout on your lower lip. Gently swipe it towards the corner as you slightly open your mouth to split the lips.
Try to do it with small strokes to avoid any spilling out of the boundaries. Don’t worry, even if you do, it will come to you gradually with practice.
Pro Tip: For bulletproof staying power, place a tissue over your lips and dust translucent powder through it with a brush — this sets the lipstick without dulling the color.
6. Fix Smudges with This DIY Eraser
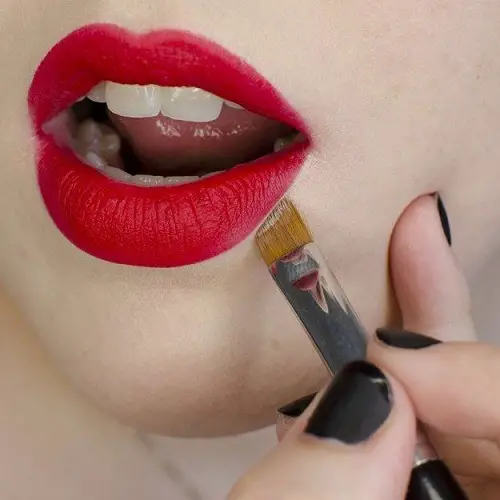
Messed up? Don’t wipe it off and ruin your base. Instead, dip a Q-tip in micellar water or castor oil. Gently clean the edges — castor oil melts lipstick without irritating the skin.
You can also use a concealer to cover it up. Pump out a small amount on a thin brush and dab it on the areas needing fixing. Use the brush slowly to have clean strokes!
7. Bonus — Nighttime Lip Care Ritual
If you wear lipstick daily, give your lips some care at night, and you’ll be amazed at the results. Mix castor oil and rosehip oil (1:1 ratio) and massage into your lips before bed every night after you cleanse your face.
You’ll wake up with baby-soft lips, naturally tinted and ready for another day of flawless wear.
Have your own lipstick hacks? And do you want to know how to make your own tinted lip oil? Drop us a comment and check out our beauty section!